SVXLink Builder
New Version Now Released
For those anxious or curious to build a simple node for EchoLink or more ambitious connections, there was often the barrier of getting it right whilst learning to program.
I have completed the second stage of an svxlinkbuilder project that requires only the most simplest of Linux interaction. If you can place an sdcard in a small form factor computer, then that is mostly all you need to do, apart from following some simple instructions and a well presented menu structure. You can continue with the instructions below, or you can go to g4nab.co.uk/svxlink for a nearly ready-made image.
Whilst primarily for the Raspberry Pi, the software is quiet capable of being adapted for other Linux capable devices, such as the Orange Pi or Banana Pi, or even a PC running Debian 12, although that is not the intention here.
Requirements apart from the computer device, are a USB soundcard and a Transceiver (or a pair if you are considering a repeater) capable of External Squelch and PTT control. Whilst VOX (voice operated squelch in this case) could be an option, it really isn’t suitable for a situation that could be left running 24/7, so this is not included in the choices that will become apparent.
As far as your radio goes you will need to determine whether the PTT and the Squelch (COS) are active-high or active-low, that is to say, the voltage used is brought to zero (Active-Low) when they operate, or produce or require a nominal voltage, say around 3 volts, when they operate, (Active-High). Most PTT circuits are active low, as the PTT pin is brought to ground to operate it. COS circuits may differ, either producing a voltage all the time except when a signal appears on the receiver, or CTCSS signal is found, or conversely only produce a voltage when a receive signal is found.
Modified USB soundcards are often found in circuits for DireWolf or All-Star nodes, where the onboard sound device chip is accessible, to receive external components for transceiver control. This type of card CM-108 sometimes marketed as Dollartek, or its derivatives are the go-to. There is already a quantity of online material for their modification. Inevitably the PTT and Cos operation is controlled from Debian using software capable of intercepting the USB soundcard’s installation, known as udev.
STOP PRESS: Follow this link for a ready-made device that makes everything even easier.
https://www.tindie.com/products/tomwardill/cm108-radio-widget/
So finally the most important part is the chosen computer. How you choose to do this will depend on your individual expertise, but the only stipulation will be that the device needs external sockets for the USB soundcard, and perhaps a network interface, although WiFi works as well.
If you opt for an unmodified soundcard, then you will need access to the gpio bus, although if you don’t have one of these, you can use a serial interface, but this will be beyond the scope of the software at present.
You will need access to a PC or Mac, with Raspberry Pi Imager installed and an sdcard of at least 8Gb but more than 16Gb will be a complete waste.
If you are looking for a different language version, then at the present time French, British English, and US English and Spanish are the only choices. My apologies to those nationalities for the use of Google Translate for speed rather than anything else. Although I am a fluent French speaker, even I am not perfect in English.
Now the most important part, the software. The link to a script is below, but you will be required to follow the instructions intimately. Deviation from the instruction will result in you starting again, which is never a disaster, as you will have found a way it doesn’t work. The README.md is important.
Go to https://github.com/f5vmr/svxlinkbuilder for all the information.
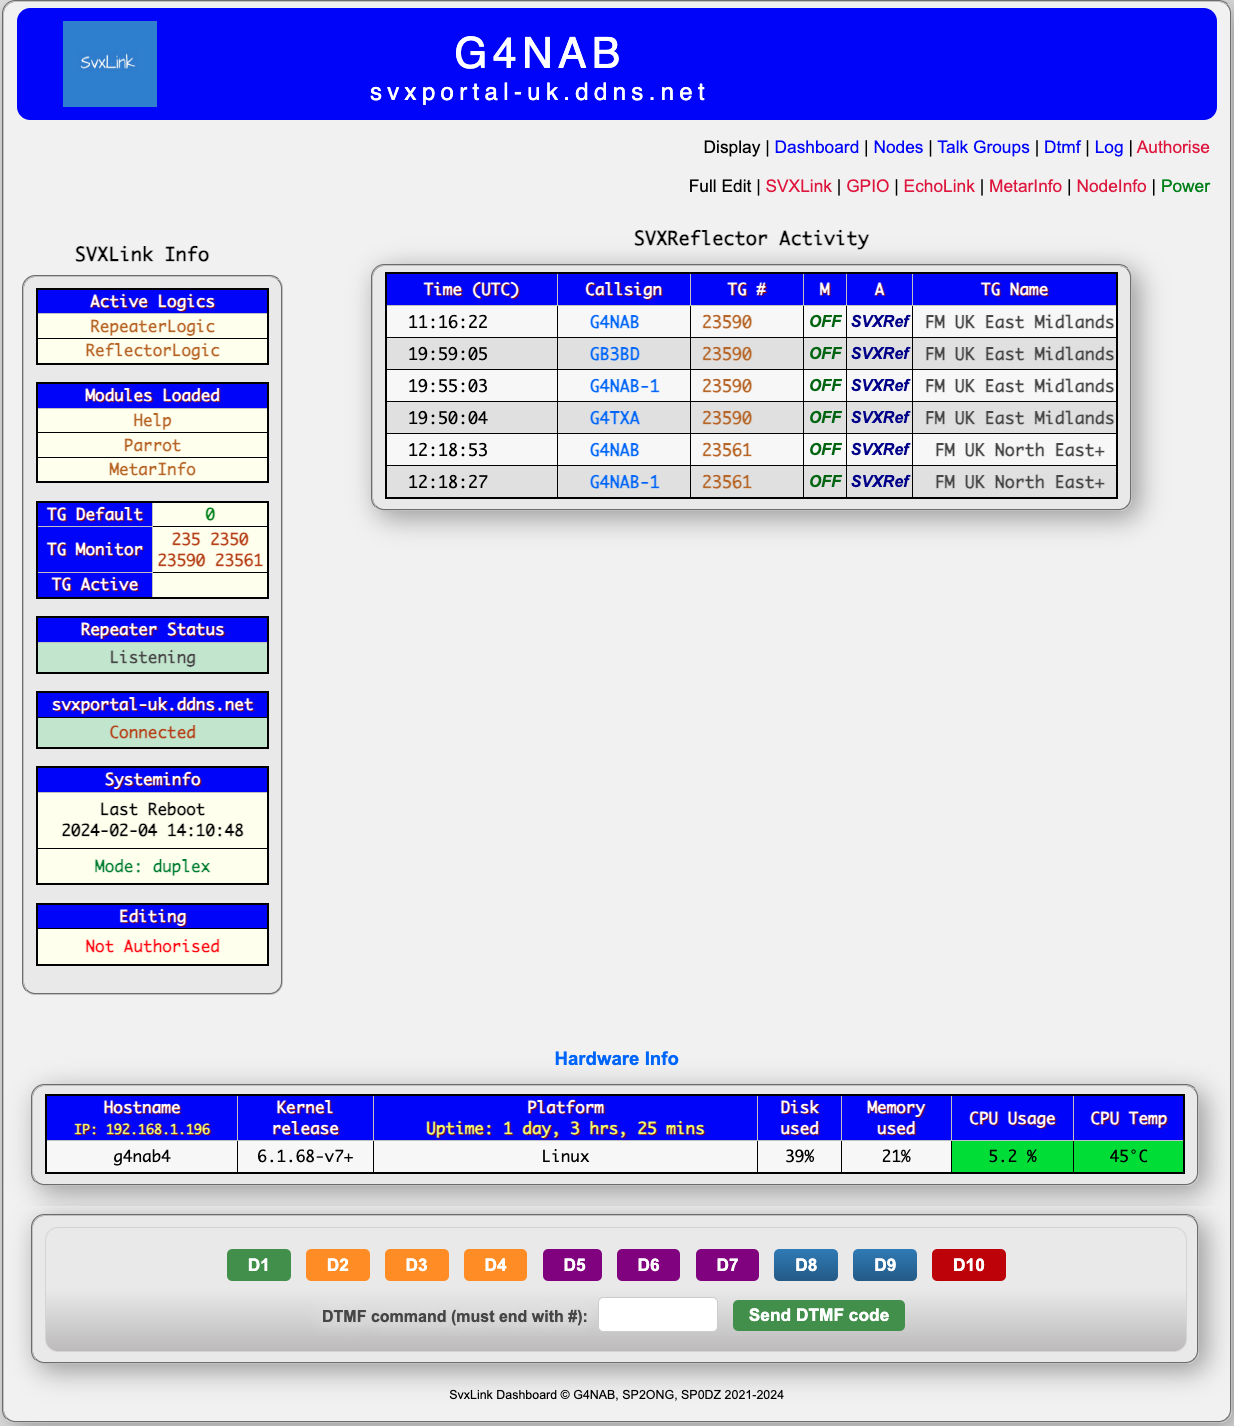
What you will have at the end will be something resembling this.
Special thanks go to the OARC.co.uk and to Dave “Hibby” Hibberd MM0MRF who facilitated the hosting of svxlink-server for this project.

