
I chose to build this machine as I was having difficulty helping a USA station, as I didn’t fully appreciate the differences between the PC and Raspberry Pi myself, so it was a bit of an experiment.
First stage – the .iso
I downloaded the iso from the Debian.org archives – a Debian 12 (Bookworm) image, and wrote it to a USB 8Gb stick. with Windows Image maker.
Second Stage – the build
If running the stick in a PC as I was, it is necessary to enter the bios to ensure that the running order includes a USB device and it does that first.
Connecting a HDMI cable to a monitor and a USB Keyboard were necessary, but a mouse certainly wasn’t. Building a headless and Desktop free environment is essential and was achieved. Just prior to completion a warning is received to withdraw the installation stick.
During the build I made sure that I had root access with password and created a user ‘pi’ and password ‘raspberry’ just so that I was on familiar ground. Install ssh-server in the setting and removing any Graphical User Interface.
Because a PC doesn’t use GPIO ports as standard, the only way we can run a Radio system is to include a USB Sound dongle or TOADS card, or a Shari Node that fits the USB socket profile in the PC. The other method to drive a radio is a true serial driver.
I chose a USB CM108 card to represent the ultimate choice of a hidraw device.
A couple of things we have to do to make sure everything we have prepared will work.
apt update
apt install -y openssh-server sudo
systemctl enable --now ssh
systemctl status ssh --no-pager

usermod -aG sudo pi

visudo -f /etc/sudoers.d/pi
pi ALL=(ALL:ALL) NOPASSWD: ALL

and save.
chmod 440 /etc/sudoers.d/pi
visudo -c

nano /etc/ssh/sshd_config.d/99-local-passwords.conf
and enter

PermitRootLogin yes
PasswordAuthentication yes
UsePAM yes

save the file
run
sshd -t
systemctl restart ssh
If you would like to short-cut your IP address for the unit to something simpler like debian.local then:
apt install -y avahi-daemon avahi-utils libnss-mdns
systemctl enable --now avahi-daemon
So now we are almost ready for the rest of the install, but there are a couple of little addons that a raspberry pi has that an AMD64 server doesn’t.
apt install -y alsa-utils

sudo nano /etc/modprobe.d/alsa-card-order.conf

enter:
options snd_usb_audio index=0
options snd_hda_intel index=1
I had to do this as the PC had a built in sound system. You can check its presence by typing aplay -l (lower case L) to display any sound cards present. If you only have the USB plugged-in device, then this will not be necessary.
Next we have to prepare the USB sound device as the propoer controller for the radio. Plugging-in the device should have added the appropriate /etc/udev/rules.d/ however this will need to be updated as follows.
nano /etc/udev/rules.d/cm-108.rules
enter the single line

KERNEL=="hidraw*", SUBSYSTEM=="hidraw", MODE="0664", GROUP="hidraw"
and save the file then run the following commands.

udevadm control --reload-rules
udevadm trigger

useradd -rG audio,plugdev,dialout svxlink

usermod -aG audio svxlink
If you would like to include the PC on a WiFi network later then install the following to be sure.
apt install -y network-manager
systemctl enable --now NetworkManager

exit
That will give you Full Access to Wifi and if you have a Wifi Dongle it will create a transmitting Access Point as well. The final exit logs you out of the terminal.
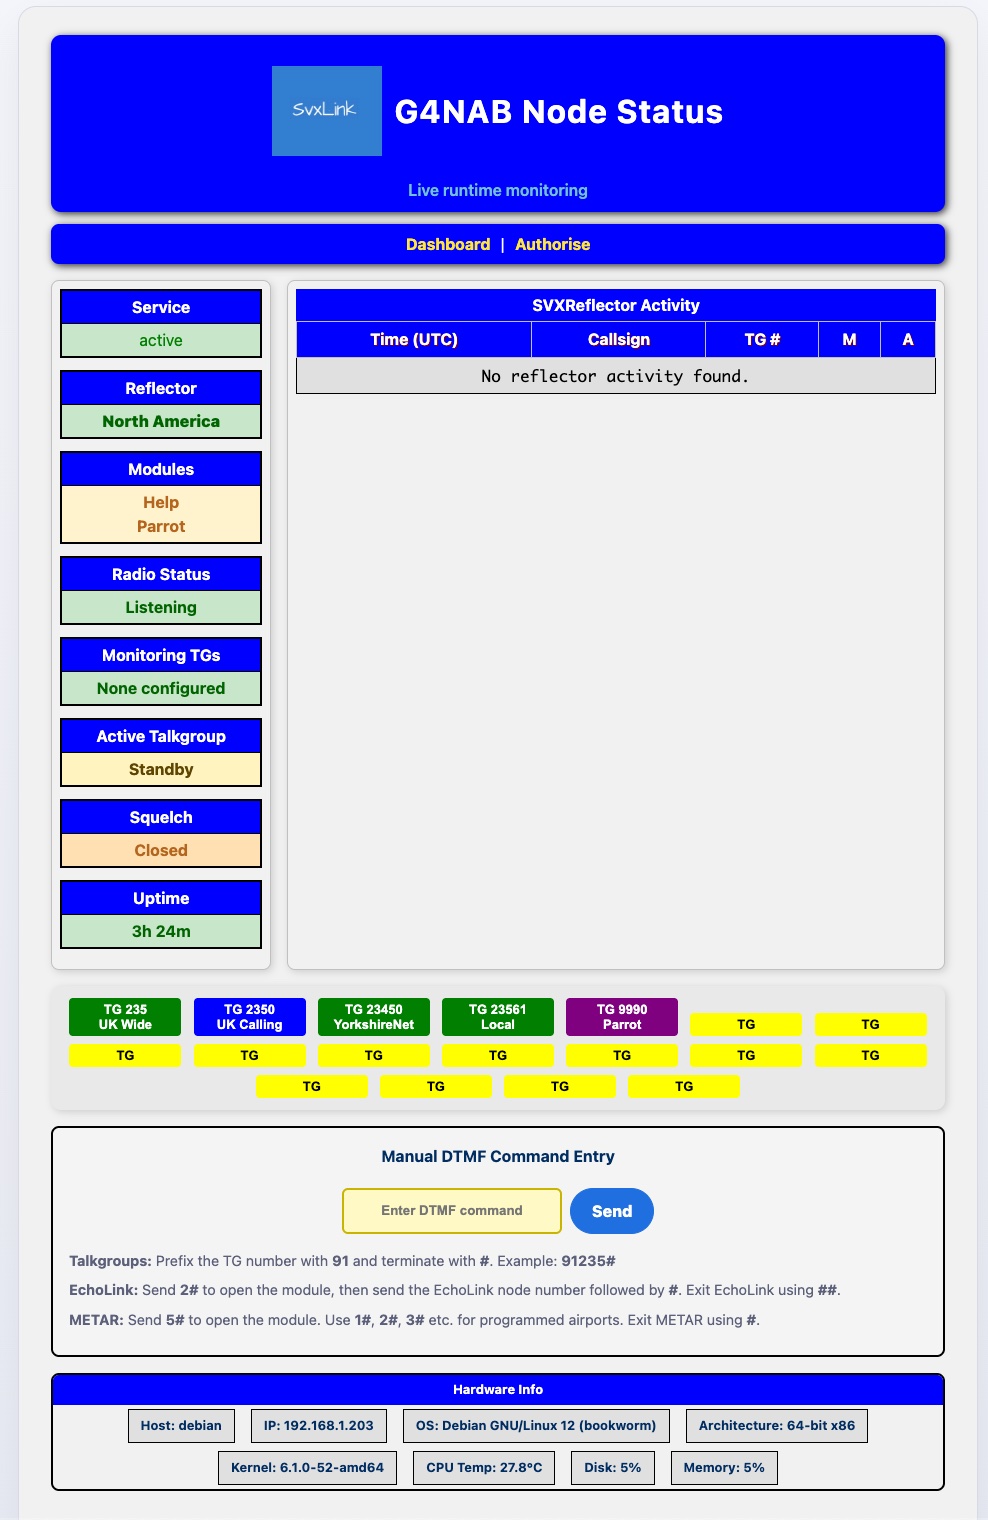
Finally we can get to install the SvxLink V26.05.01 and finally the Dashboard V3.1. Unlike the images that have these all packages and presented in one SDCard, this is not practical for a PC.
First go to the terminal and login as pi and raspberry this time and type:
cd /tmp
sudo wget https://github.com/f5vmr/svxlink/releases/download/V26.05.1_amd64_bookworm/svxlink_26.05.1_amd64.deb

sudo apt install ./tmp/v26.05.1._amd64.deb
This installs the complete Svxlink Package and any dependencies that may be outstanding. Then comes the dashboard
wget https://raw.githubusercontent.com/f5vmr/SvxLink-Dash-V3.1/main/install/install-dashboard.sh

chmod +x install-dashboard.sh

sudo ./install-dashboard.sh
This will install the Dashboard, the Python source code, and any outstanding dependencies, and change permissions where necessary.
Your Dashboard will now present you with the opportunity to populate it at the <url of your device>:5000 – follow the menu.